Filtering is a very powerful feature in Microsoft Dynamics 365 Business Central. It lets you create custom filters on list pages and save these as views so that you can go back to the filter without recreating it.
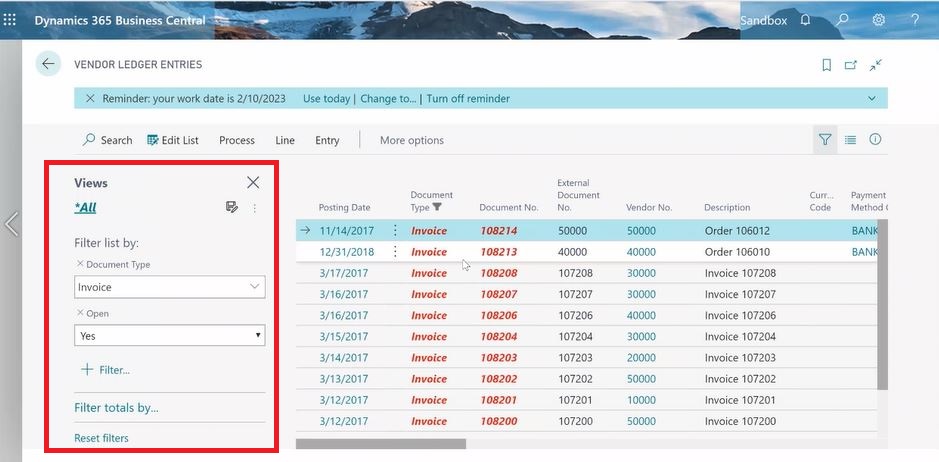
In the screenshot above, we have filtered the Vendor Ledger Entries. To see the filter pane, click on Filter. Click on + to Filter list by. In the example above, we have filtered by Document Type -> Invoice and whether the invoices are Open -> Yes to see all of the open invoices. This is a fairly simple filter. For more advanced filters, you can use filter expressions.
Filter expressions to sort the data shown in the filter
On this page, you’ll see a bunch of filter expressions that can be used for Dynamics 365 Business Central.
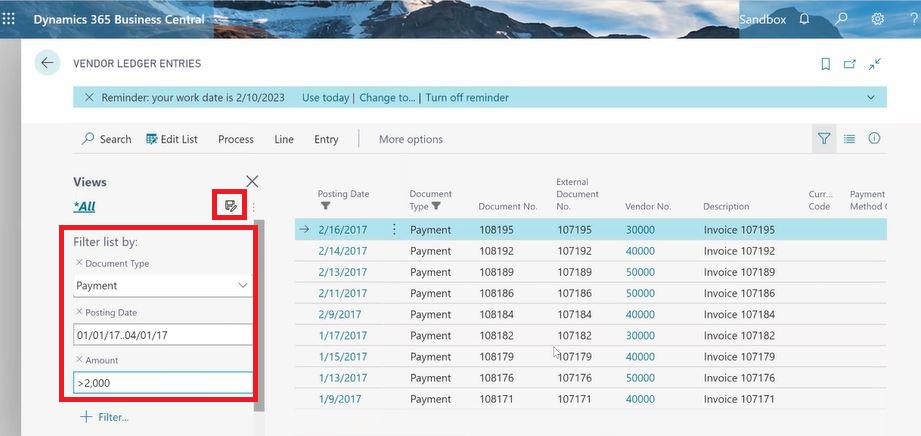
Example- For Document Type, select Payment. If you only want to see payments made to vendors in Q1 of 2107, add another filter for Posting Date and enter 1/1/2017..4/1/2017. Here, the two dots indicate the specific range and you’ll see the payments for this range. To add another filter for amount greater than $2,000, you can select Amount and enter >2000.
There are a lot of things that you can do with these filters and a lot of expressions you can use to customize what you want to see on this list.
Save multiple filters for future reference
In the recent release, they have added a feature to save multiple filters in these list screens.
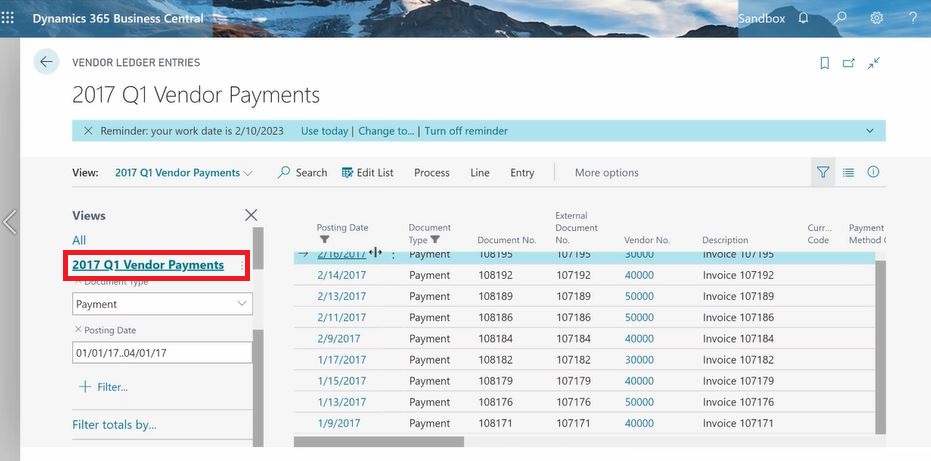
For example- You can save our previous example filter view by clicking on ‘Save’ on the right and name it as 2017 Q1 Vendor Payments. Now anytime you go to the vendor ledger entry screen, you can pull this saved view.
You can have multiple views. You can rename them or remove them or edit them as needed. You can quickly switch between different views of a list in the filter pane. There is a lot of usability with these filters and they can also be saved in reports.
To learn about some of the other functionalities in Dynamics 365 Business Central, view Tensoft’s YouTube channel.