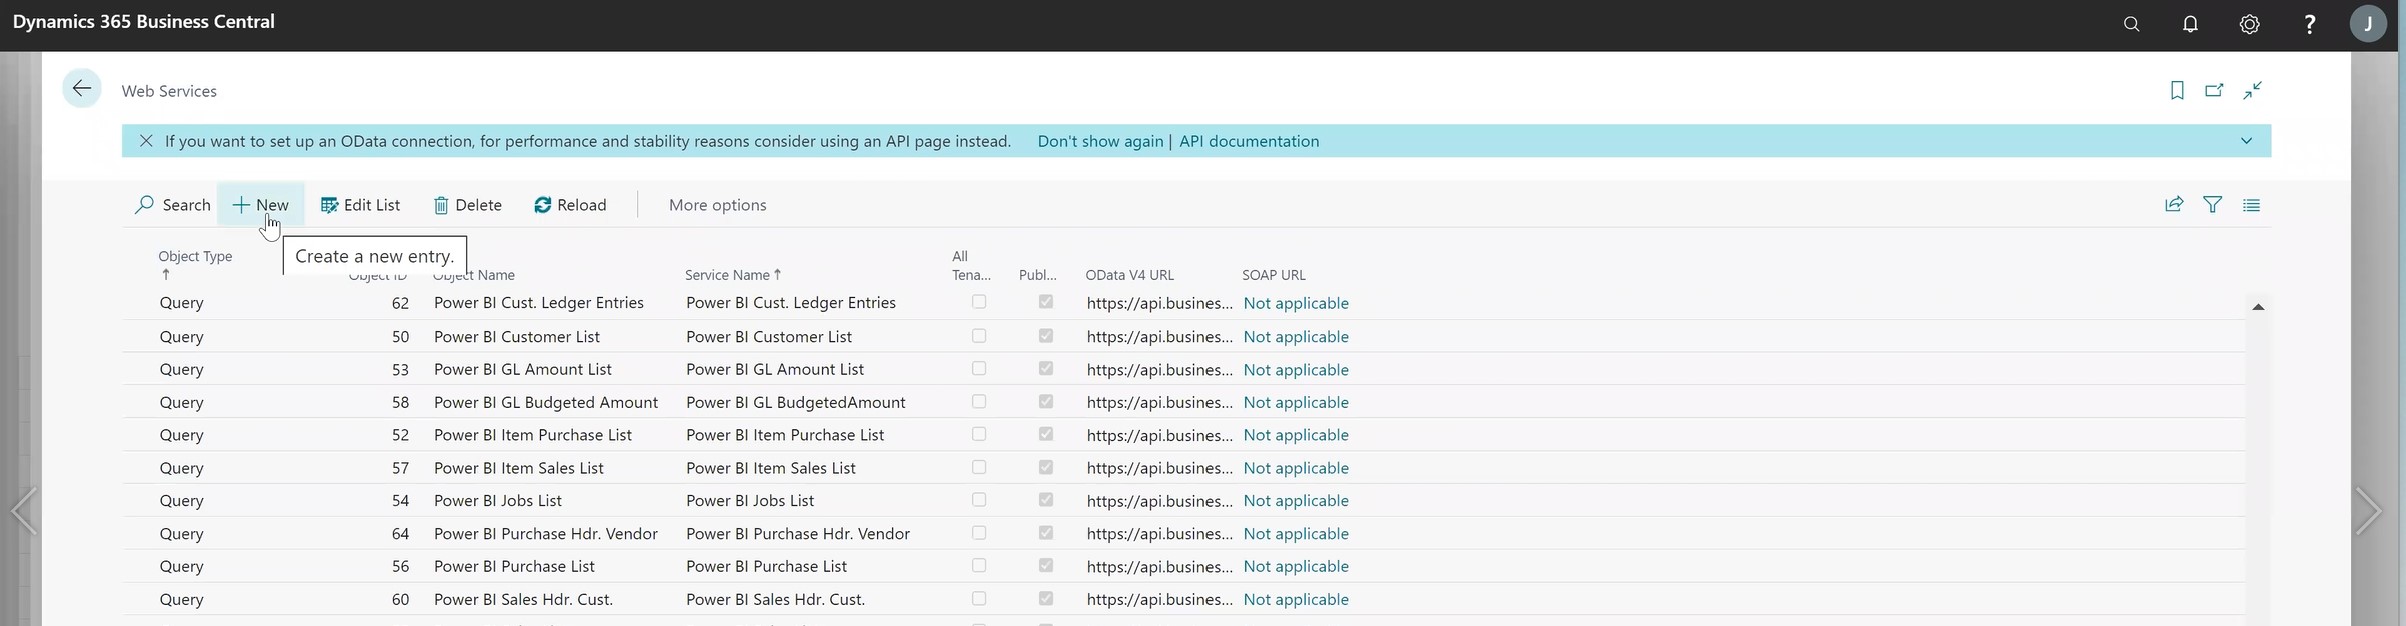
OData queries are URLs that can expose any table or any piece of data that’s in Microsoft Dynamics 365 Business Central via the Web Services Page. It comes with a bunch of already delivered web services, but you can add new sources as needed by clicking on ‘New’ and then referencing either the Page that it is on visually or by query.
Usually, I go to Page type and then search from ‘select from full list’. For example, if you search Purchase, it will find all the different pages that have purchase in it. You can then add it as a web source and expose the OData V4 URL into Excel or Power BI. If there is a Business Central page you want to report on, you can find the page ID by clicking on Help > Help & Support > Inspect pages and data. You can then add the data source and pull it into Power BI or Excel.
The Account Schedules have their own web service called ‘powerbifinance’. If you search for ‘Account Schedule KPI Web Service Setup’ page, it will give you a list of all your account schedules and you can add more here. This creates a query into your actual account schedules.
Go to Web Services > Search for powerbifinance > Click on the OData V4 URL and copy URL from your browser. Go to Excel > Data > Get Data > From Other Sources >From OData feed > Paste the link. From here, you can create either a pivot table or excel formula and then you can dynamically look up the data. You can Refresh this data with a click.
It is a way of getting your account schedules into Excel in a better format than what you have for natively running it out of Business Central without requiring any kind of additional licenses.
The data can be managed in Excel or Power BI Power Query Editor. It is the query tool that you use to create new columns or join two data sources together. You can also reference data from other source systems like SharePoint. You can launch the power query editor from Data > Get Data > Launch Power Query Editor.
In my next blog post, I’ll demonstrate how to use the advanced functionality in the power query editor and combine two queries together in two different ways – merge & append. Stay tuned!
– Jason has over 20 years of financial leadership experience in high growth technology companies. He is a Microsoft Certified Dynamics 365 Business Central Functional Consultant Associate. See Credential.